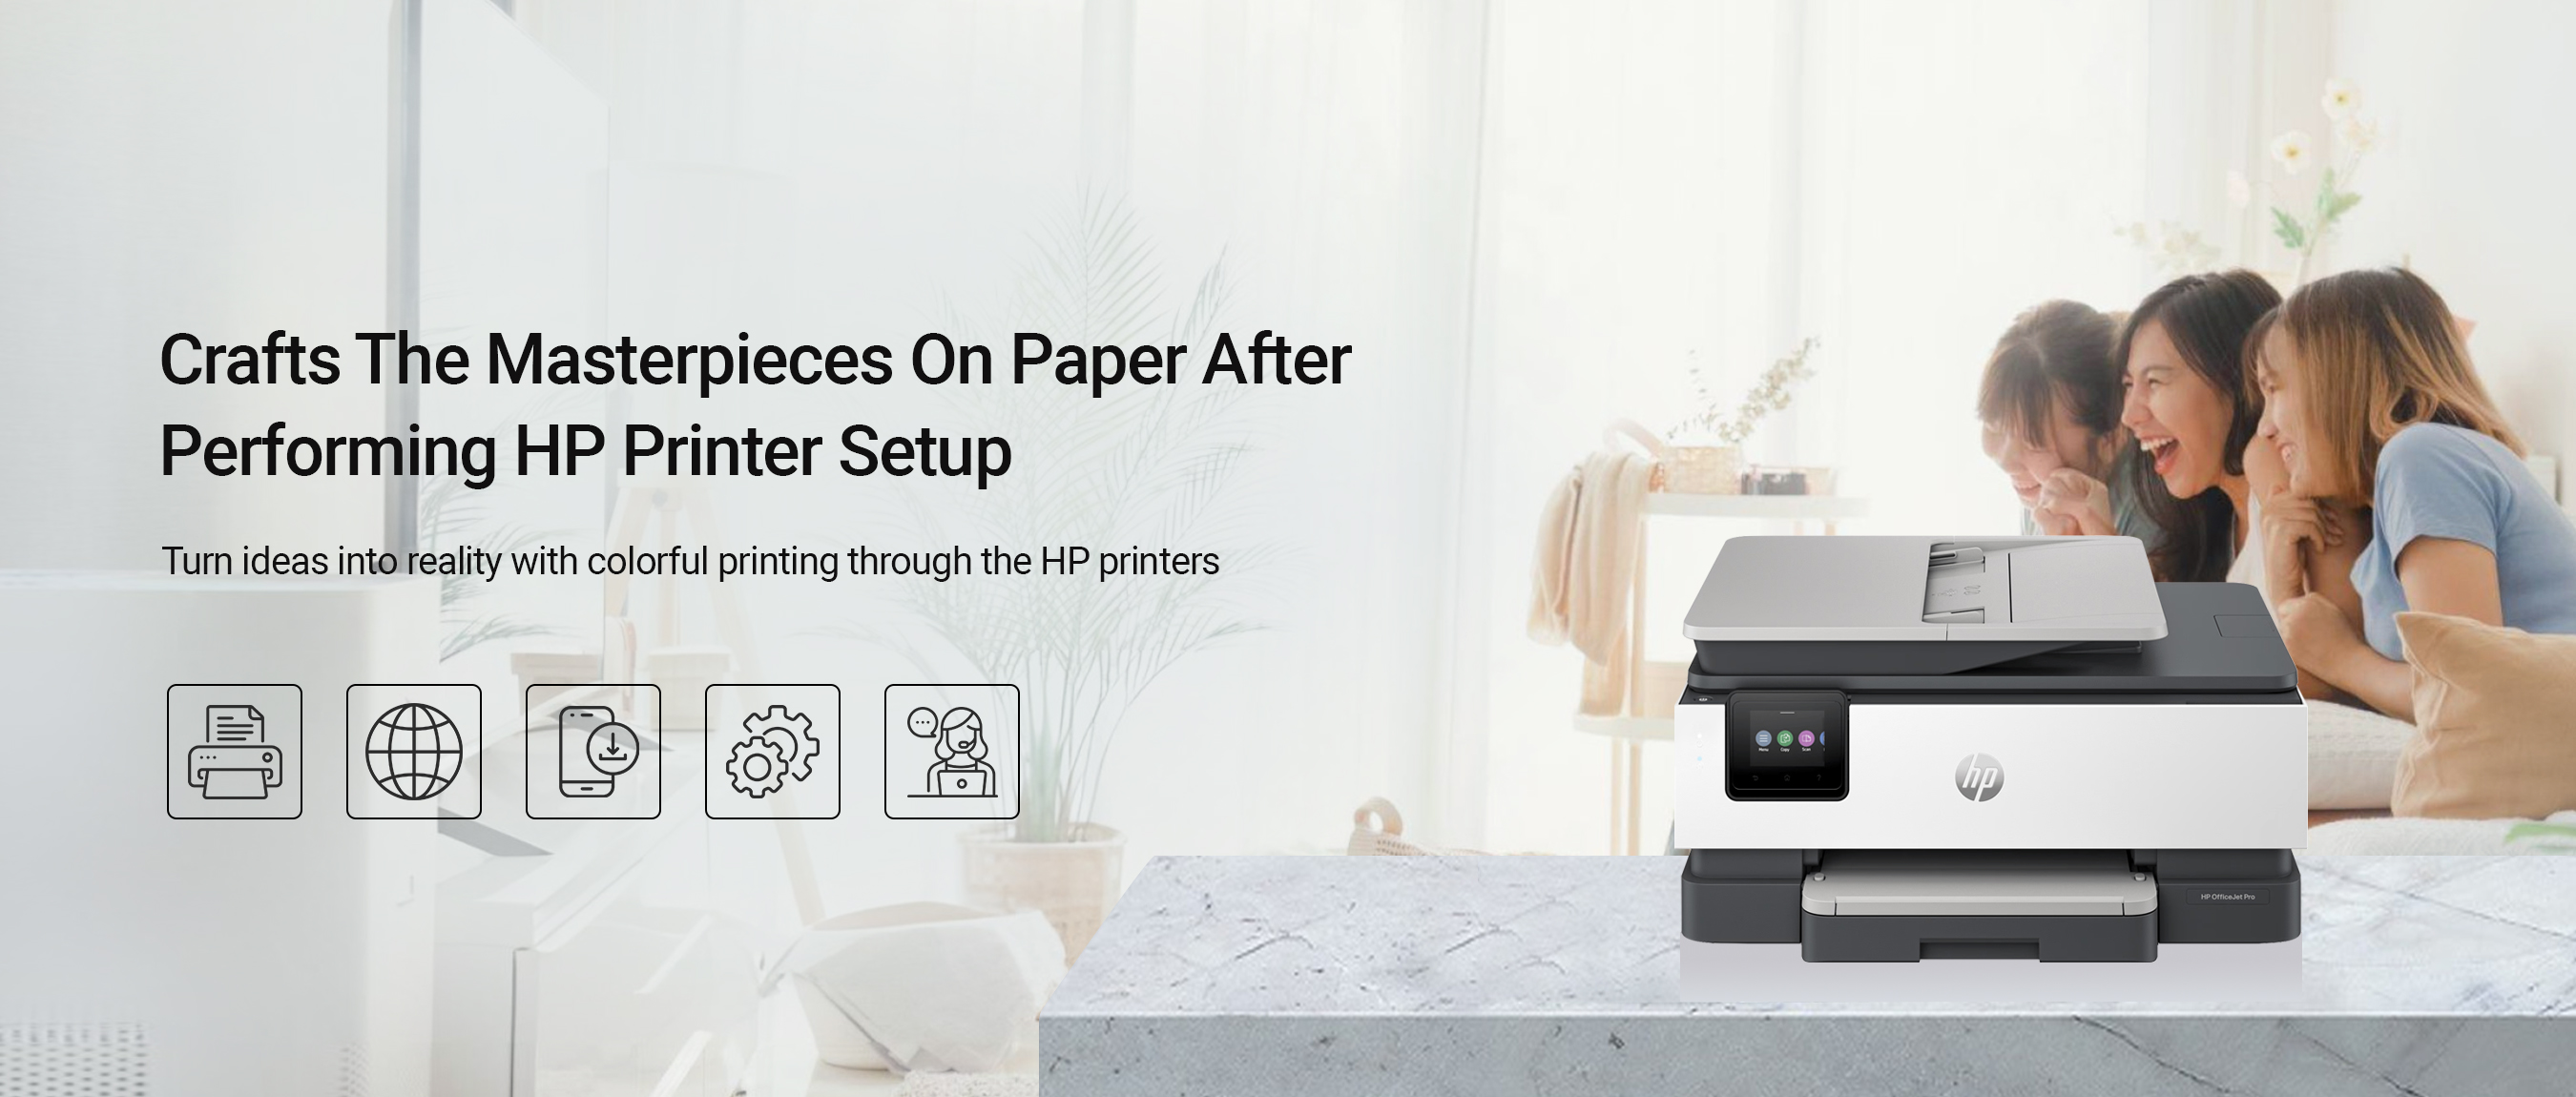
HP Printer setup for printing beyond your expectations
Generally, HP printing machines come with touch screens and multiple functionalities. Likewise, to use these printers to their full extent, you need to perform the HP printer setup first. However, connecting the wireless printing device to the wifi and configuring its settings according to your preferences is essential and possible after setup.
In addition, there are four different methods to configure the printer settings. The procedures are simple and users can perform the setup on their own. If you seek assistance with the same, read this page. Here, you find the complete information for the HP wireless printer setup using the various ways, elaborated on this page. Have a look beneath:
Essentials for HP printer setup
While you are proceeding with the printing machine configuration, then ensure that you have below-mentioned things with you, such as:

Active internet connection

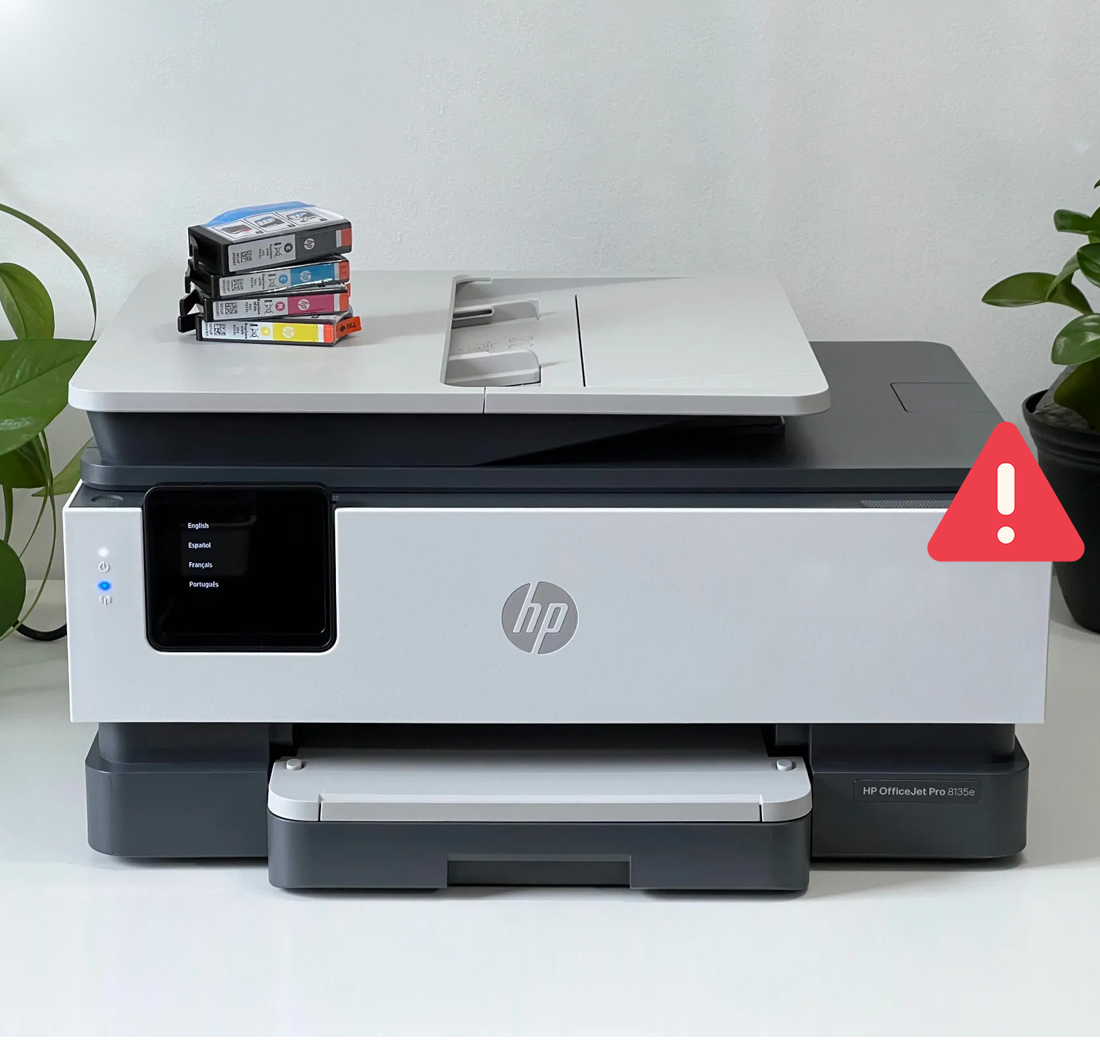
Wireless HP printer (touchscreen)

HP Smart App

Computer/Smartphone

Ethernet cables/USB cable
How to setup hp printer using the four different ways?
Moreover, the configuration procedure is quite easy for your HP printing machines. As discussed above, there are four variable methods that you can use to carry out HP printer wifi setup effortlessly. In this section, we shed light on the brief steps for each procedure, so stay tuned here:
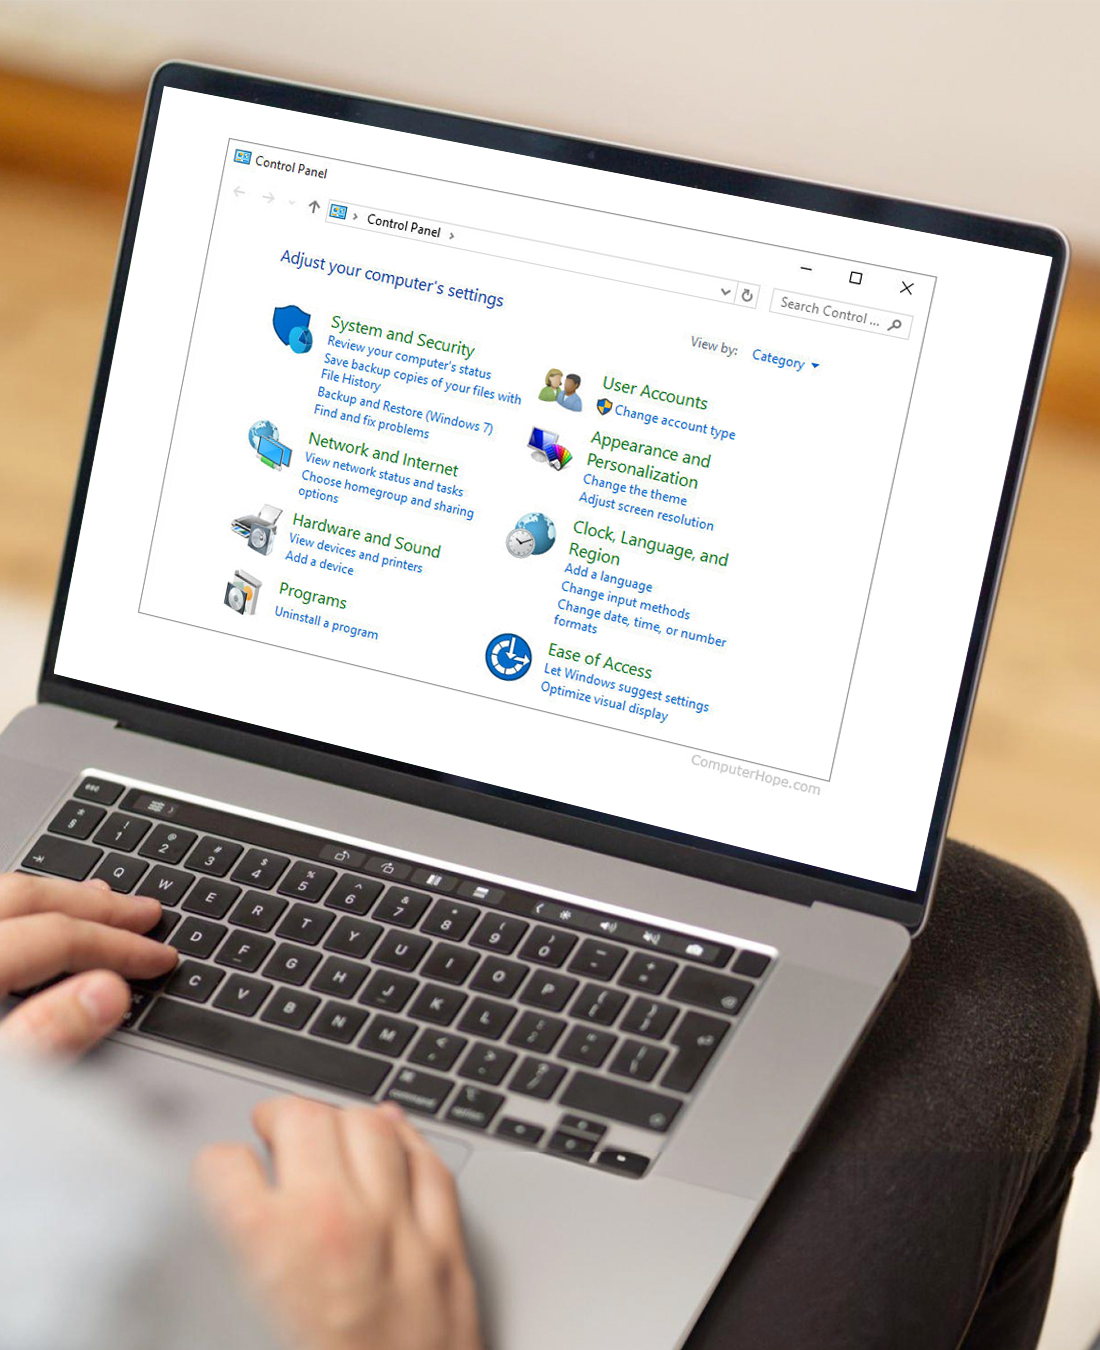
Wireless Printer setup using the Windows System (in-built drivers)
- Initially, power on the HP printer by connecting it to the power supply.
- Now, connect the computer to the existing home network.
- Ensure you have placed the printing machine and computer closer to the router.
- Next, click on the Windows icon on your system or open the Control panel of the PC.
- Search the Window and tap on the Change Device Installation Settings>Yes.
- Afterward, link the printer to the existing network to which your computer is connected.
- You can directly press & hold the WiFi icon or open the wireless Menu on the printer’s screen and then click on Setup, Network, or Wireless settings and follow the guidelines to join the home network.
- Again, search the Window for the Add a Printer or Scanner option and tap on this.
- Here, check the available printer options and select your printer here if it is available.
- Further, tap on the Add Device to be done with the driver installation procedure.
- In case, your printing device is not available, then click on The printer that I want isn’t listed and follow the further instructions to Add your printer to the Windows.
- Hereon, wait till the HP printer installation procedure is completed.
- Finally, you can perform various printing jobs using Windows inbuilt drivers.
- Now, you understand how to setup hp printer efficiently utilizing Windows.
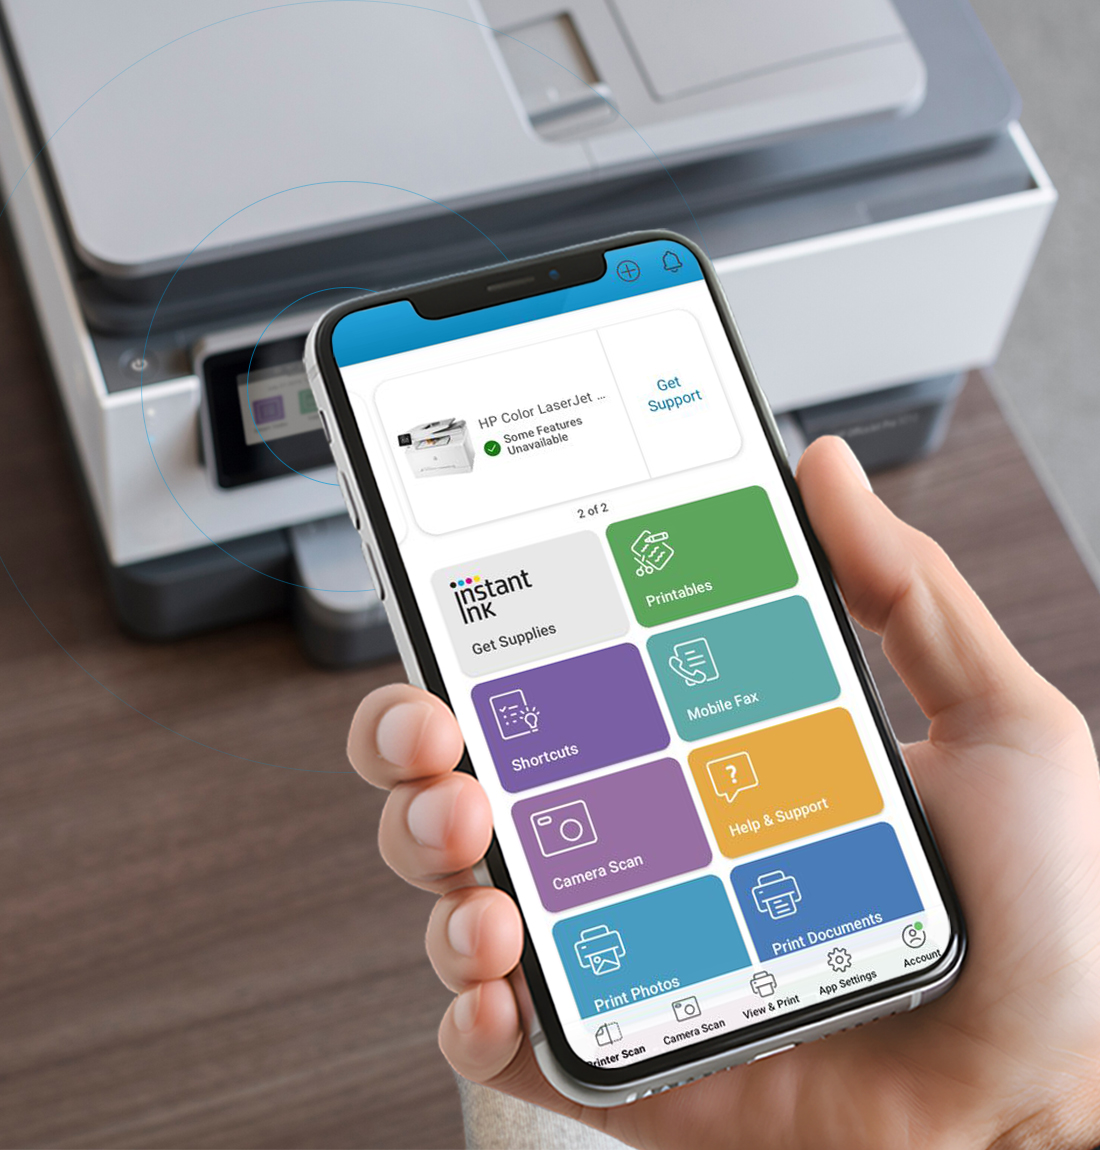
HP printer setup through the HP Smart App
- To begin with, ensure the printing device is powered on.
- Next, link your smartphone to the existing Home network.
- Now, download & install the HP Smart App on your smartphone from the Play/App Store.
- If you are using the MAC device, the app is available as HP Smart App for the Desktop.
- Here, check your mobile device and follow the prompts as to turn on the Bluetooth or mobile device Location.
- Afterward, open the app and a Welcome screen will appear to you.
- Click on Accept All and then Set Up a New Printer or Add Printer option.
- Here, you get the two options Get Started (for adding a printer for the first time) and Add a Printer/Complete Now (if the printer has previously been set).
- If you are a new user, then click on Get Started>Continue.
- From the available options, select your printing device or tap on the Setup directly.
- Hereon, follow the on-screen guidelines and wait for a few minutes to finish the HP wireless printer setup.
- At last, reopen the app and configure the settings as per your requirement.
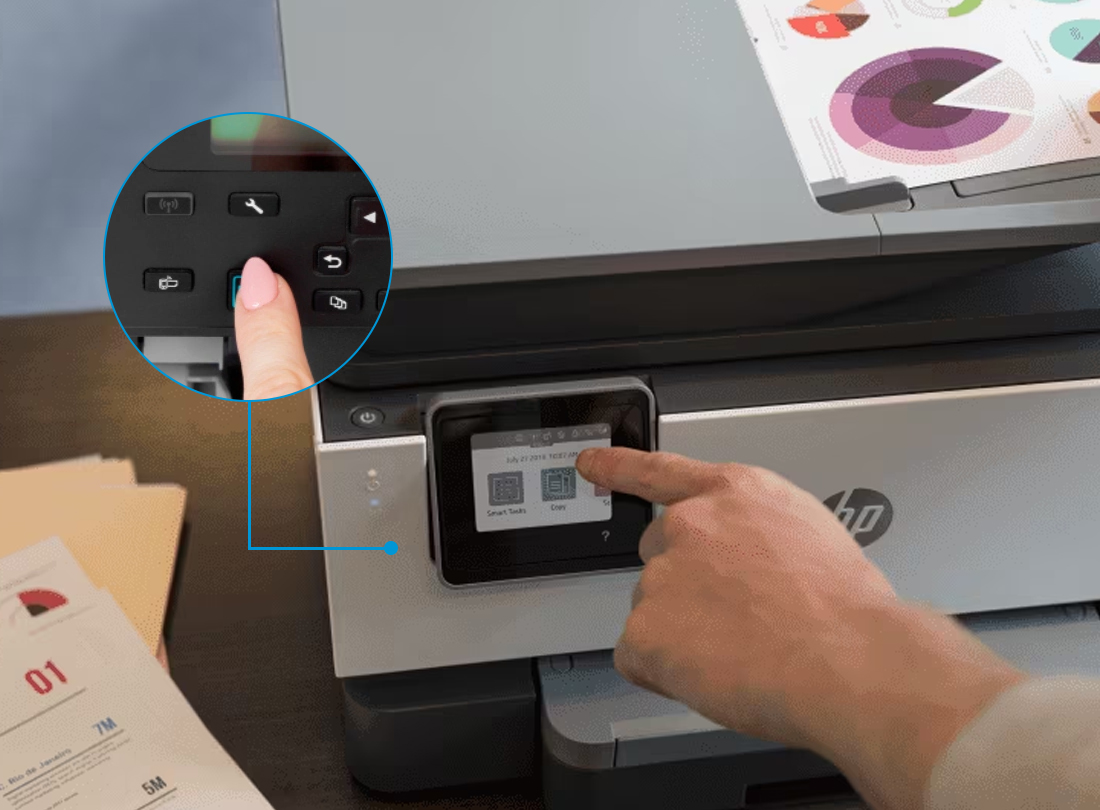
HP Printer wifi setup utilizing the WPS
- To begin with, place the printer and computer closer to the networking device.
- Now, put the printing machine in WPS mode by visiting the touchscreen Menu on it.
- On the Control Panel, click on the Setup, Network/Wireless settings>choose Wi-Fi Protected Setup>Push Button>Start.
- Simultaneously, press the WPS button on the router for 3-5 seconds within two minutes.
- Again, go back to the Printer screen and check the network connection status as Blue LED or the bar stops flashing.
- Lastly, this indicates that the printer is successfully connected to the router’s network.
- To configure further settings, visit the Windows system or HP Smart app.
Configuring the HP printing machine via the WiFi Direct option
- At first, make sure your printer is turned on.
- Ensure you have added the printer to the HP smart app or using the Windows system.
- Or, you directly use the Printer’s touch screen Menu.
- Next, if you are using the HP Smart app, then click on Advanced Settings>EWS (Embedded Web Server) is launched>Network or Networking >Wi-Fi Direct > Setup/Wi-Fi Direct Setup>View the Wi-Fi Direct name and password.
- Similarly, if proceeding with the Control Panel of the touchscreen printers, then press the Wi-Fi Direct icon to view the Wi-Fi Direct name & password.
- Hereon, follow the further instructions to finish the process.
- For Windows users, open Windows and locate Printers & Scanners>Add a Printer/Scanner>Show WiFi Direct Printers>Choose your printer begins with DIRECT in the name and followed by the model name.
- After that, click on Add Device>Wait for PIN>Enter WPS PIN shown on the Control panel of the printer in 90 seconds>Next>Print.
- Now, check that the paper tray is arranged with the A4 papers.
- Follow the instructions with the method you choose for the WiFi Direct Setup and give Print Command to test printing.
- Ultimately, you are done with the HP printer setup successfully.
Explore the easy HP printer troubleshooting tips for printer setup issues.
In general, the setup process is easy for techies but for the newbie and fresh user, it sometimes seems confusing. Hence, this may lead them to face several issues, such as an unstable network, computer & printer is not connected, outdated printer firmware, devices are out of the network range, and more.
Therefore, it is necessary to resolve them timely for successful and error-free printing. Likewise, in this section, we share effective HP printer troubleshooting methods to resolve printer setup issues. Take a closer look beneath:
- Make sure the printer and the connected devices have sufficient power supply.
- Connect the smartphone/computer and printer to the same network.
- If you are using a printer without a touchscreen, then the steps may differ for each process. Hence, you can approach us for assistance with this.
- Look at the cables as these are not damaged and are connected properly at both ends.
- Use the original power adaptor for the HP printer.
- Ensure you have downloaded the accurate drivers on Windows.
- To fix the technical glitches and bugs on your printer, power cycle it.
- Make sure your printer is linked to the wireless network by checking that the Blue LED or the bar is stable and not blinking or turned off.
- Follow the on-screen instructions carefully while using the app, Windows, or the WiFi Direct Setup.
- Check the printer for the Firmware update by visiting the Control Panel of the printer, on the HP smart app, or Windows. Upgrade it by following the given instructions or connecting with us!
- If none of the given methods work, then factory reset the printer and reconfigure it.
All in all, the above-mentioned information sheds light on the complete HP printer setup and other relevant insights. If you are still seeking more help with the same, then visit us here!
Frequently Asked Questions
How do I get my printer back online?
For this, visit the Setup Wizard of the printer or open the HP smart app and print the wireless report to find the error otherwise power cycle the device.
What is another method to connect to the HP printer without wifi?
For this, you need to connect your printer to the computer/laptop using a USB cable and then use the Windows setup or download the HP smart app and follow the instructions.
How to manually connect to the HP printer?
For this, use the USB cable and connect it to the printer and the computer. After that, the PC easily detects the printing machine and installs the necessary drivers automatically. After that, follow the on-screen instructions to connect to the network.
Why does my printer not print after setting it up?
This may happen due to misaligned papers in the tray, inadequate ink levels, clogged print heads, etc. To resolve this, use A4 papers aligned properly, check and fill ink, clean the print head, etc.